概览:
新建项目
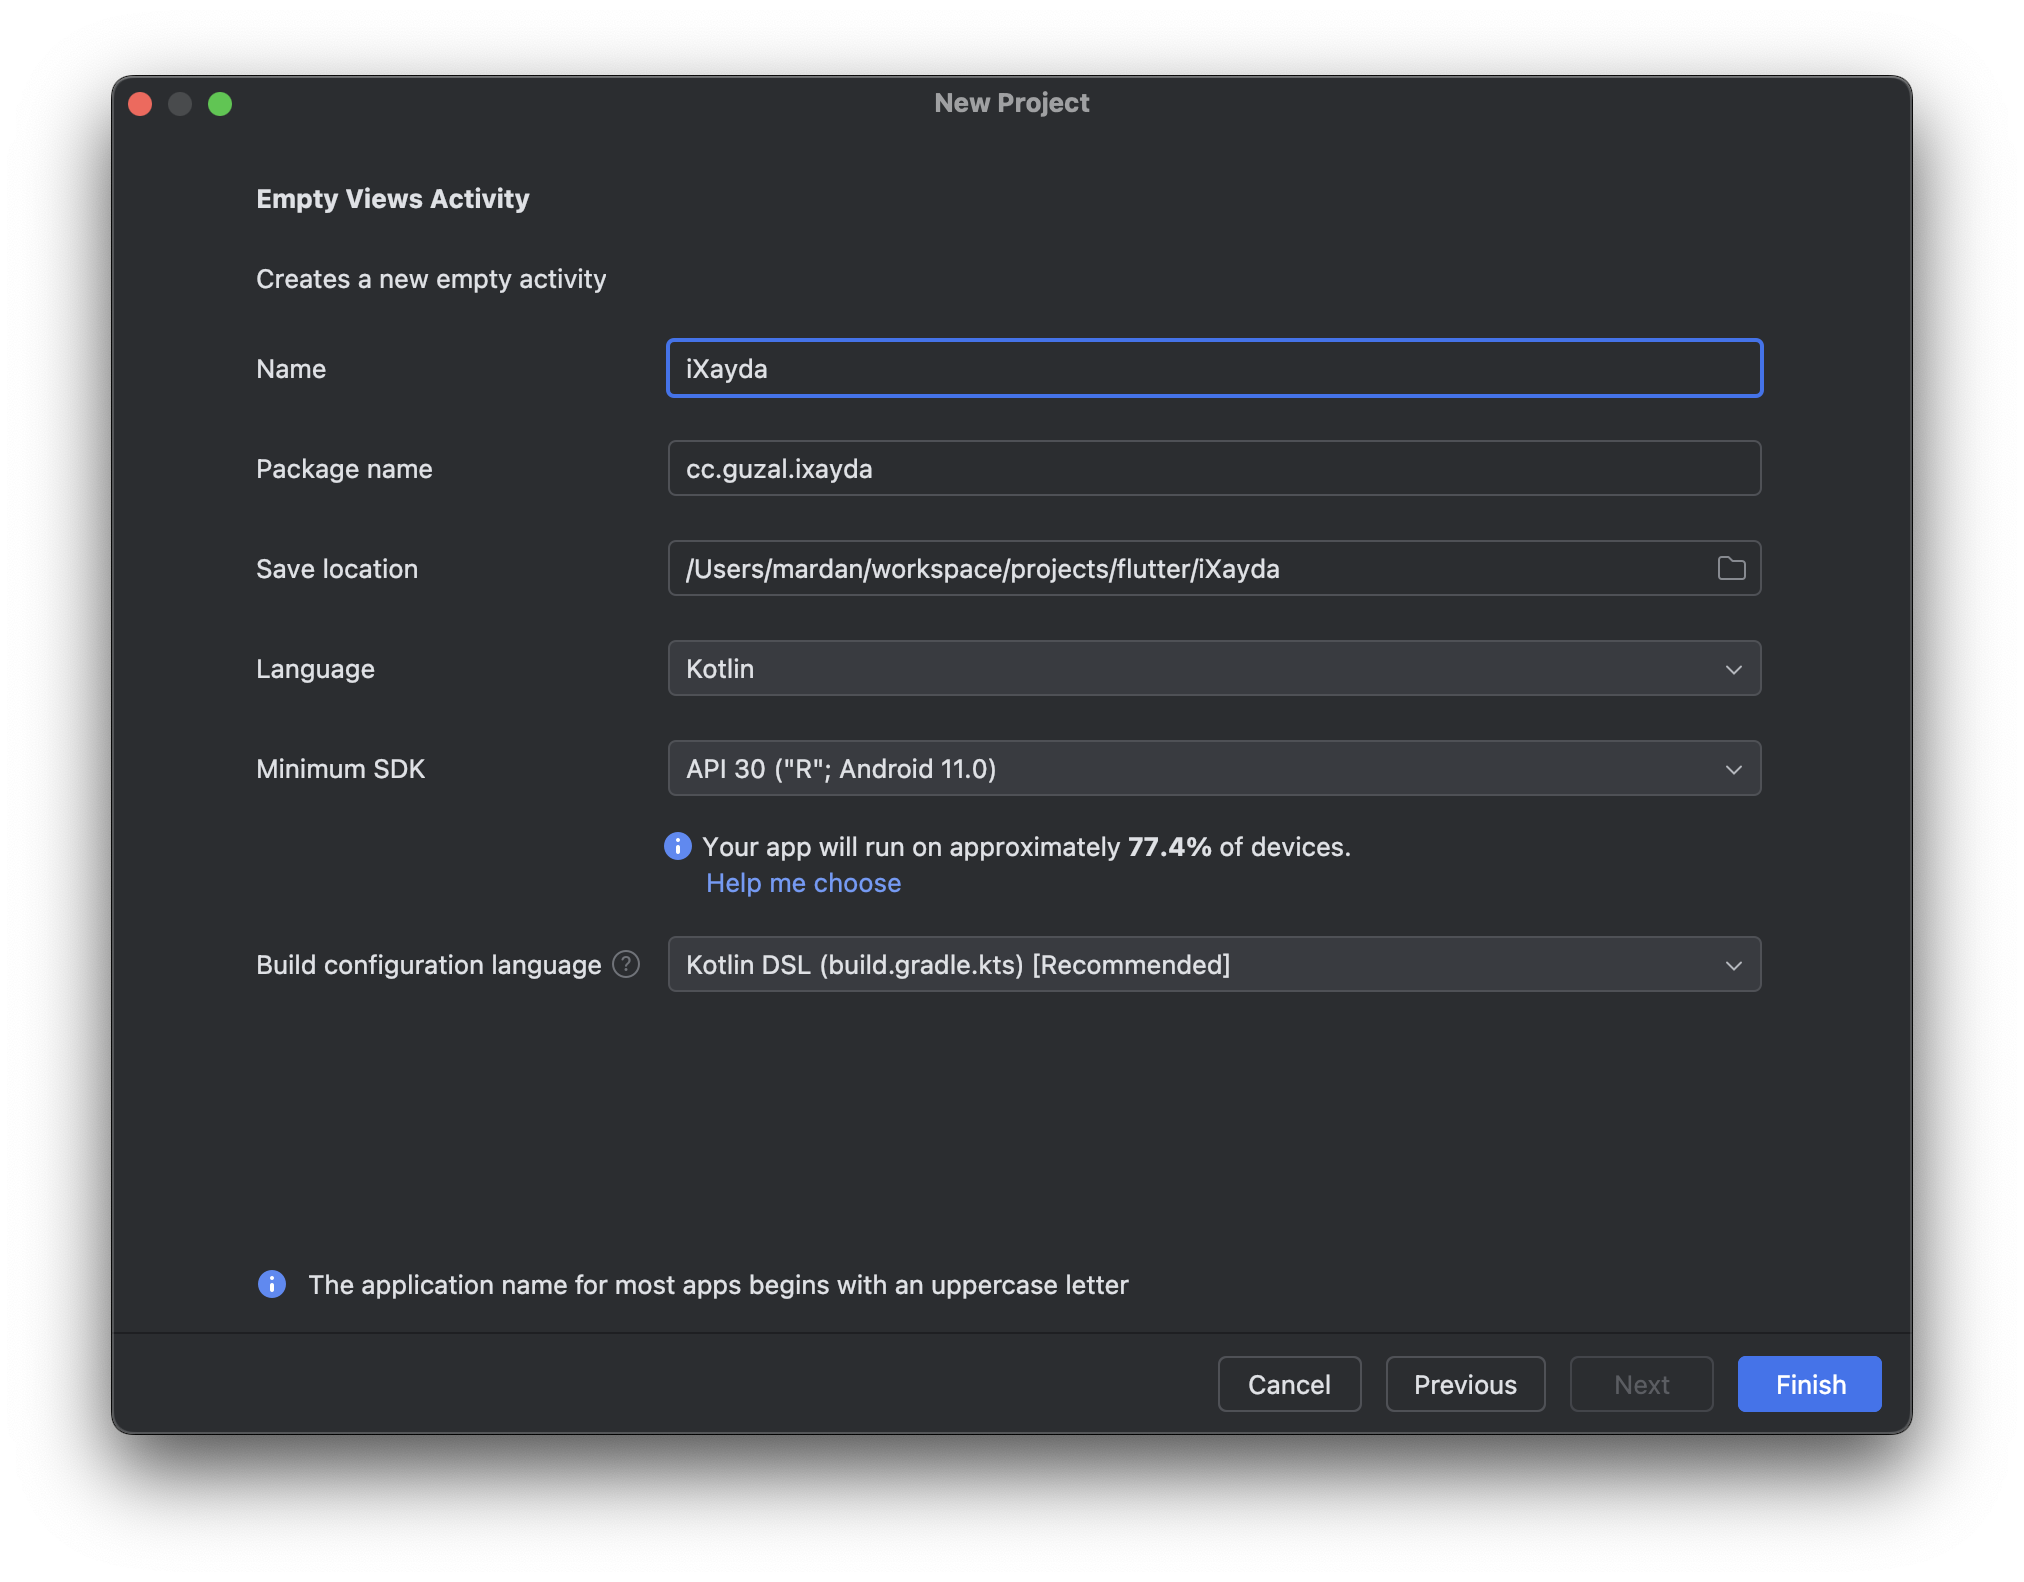
打开Android Studio,新建项目,选择Empty Views Activity,然后下一步,项目信息根据自己需求编写.
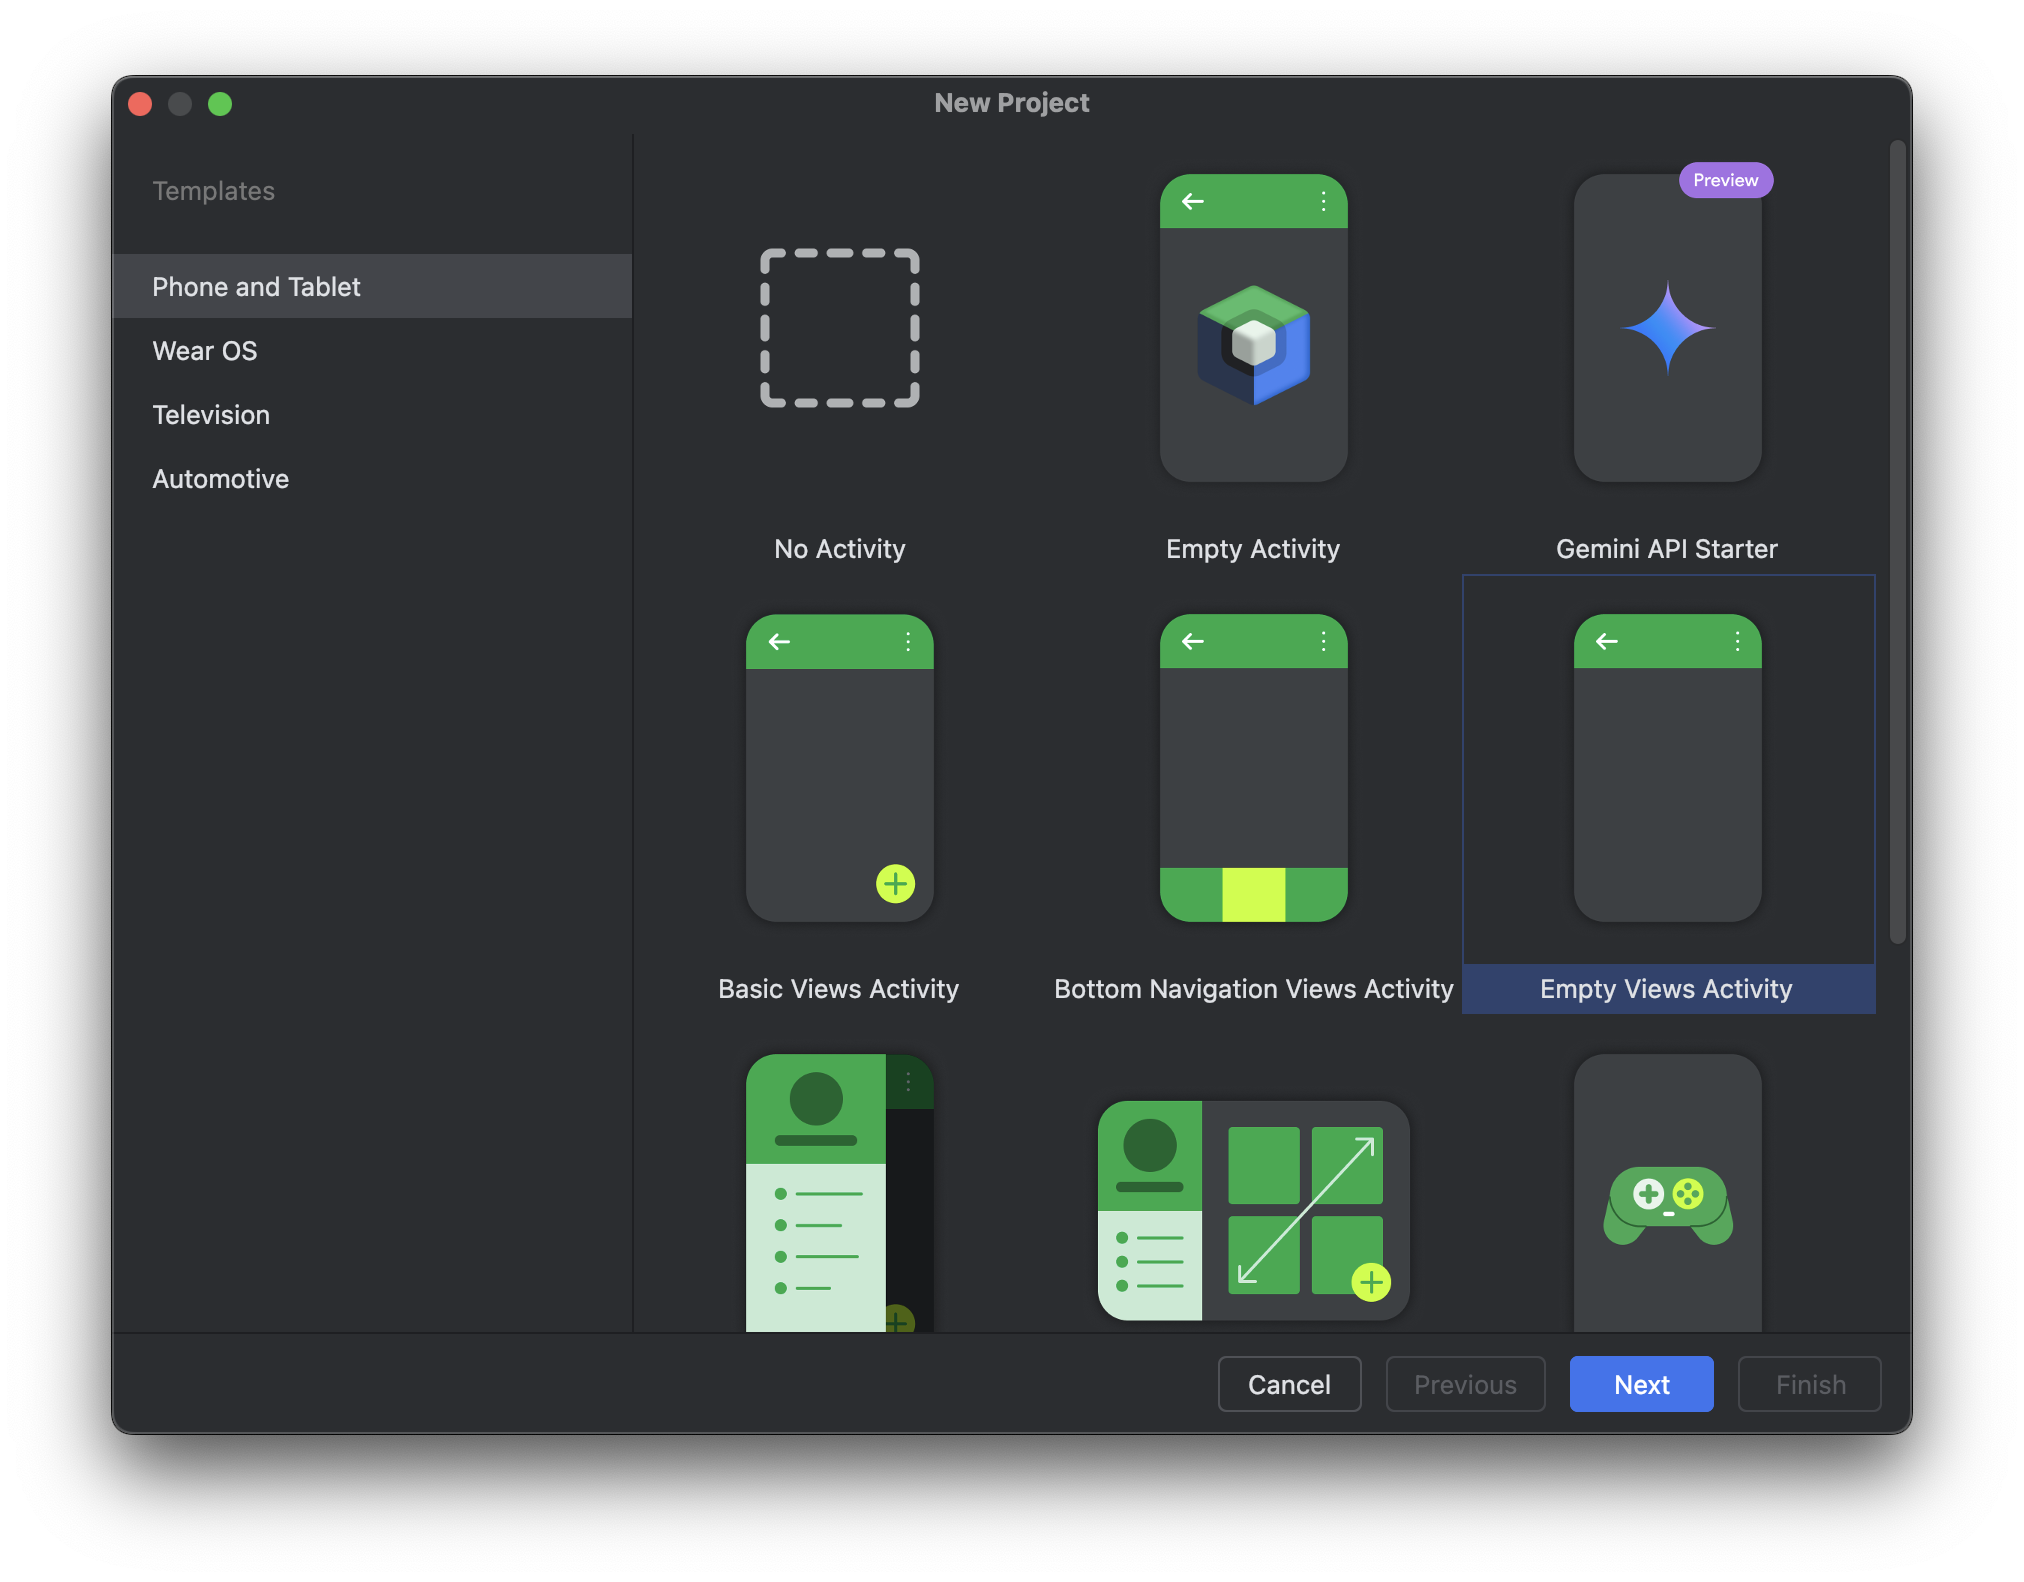
我这边项目名称以iXayda为例,其他保持原样.然后选择创建项目,并等待项目加载完成
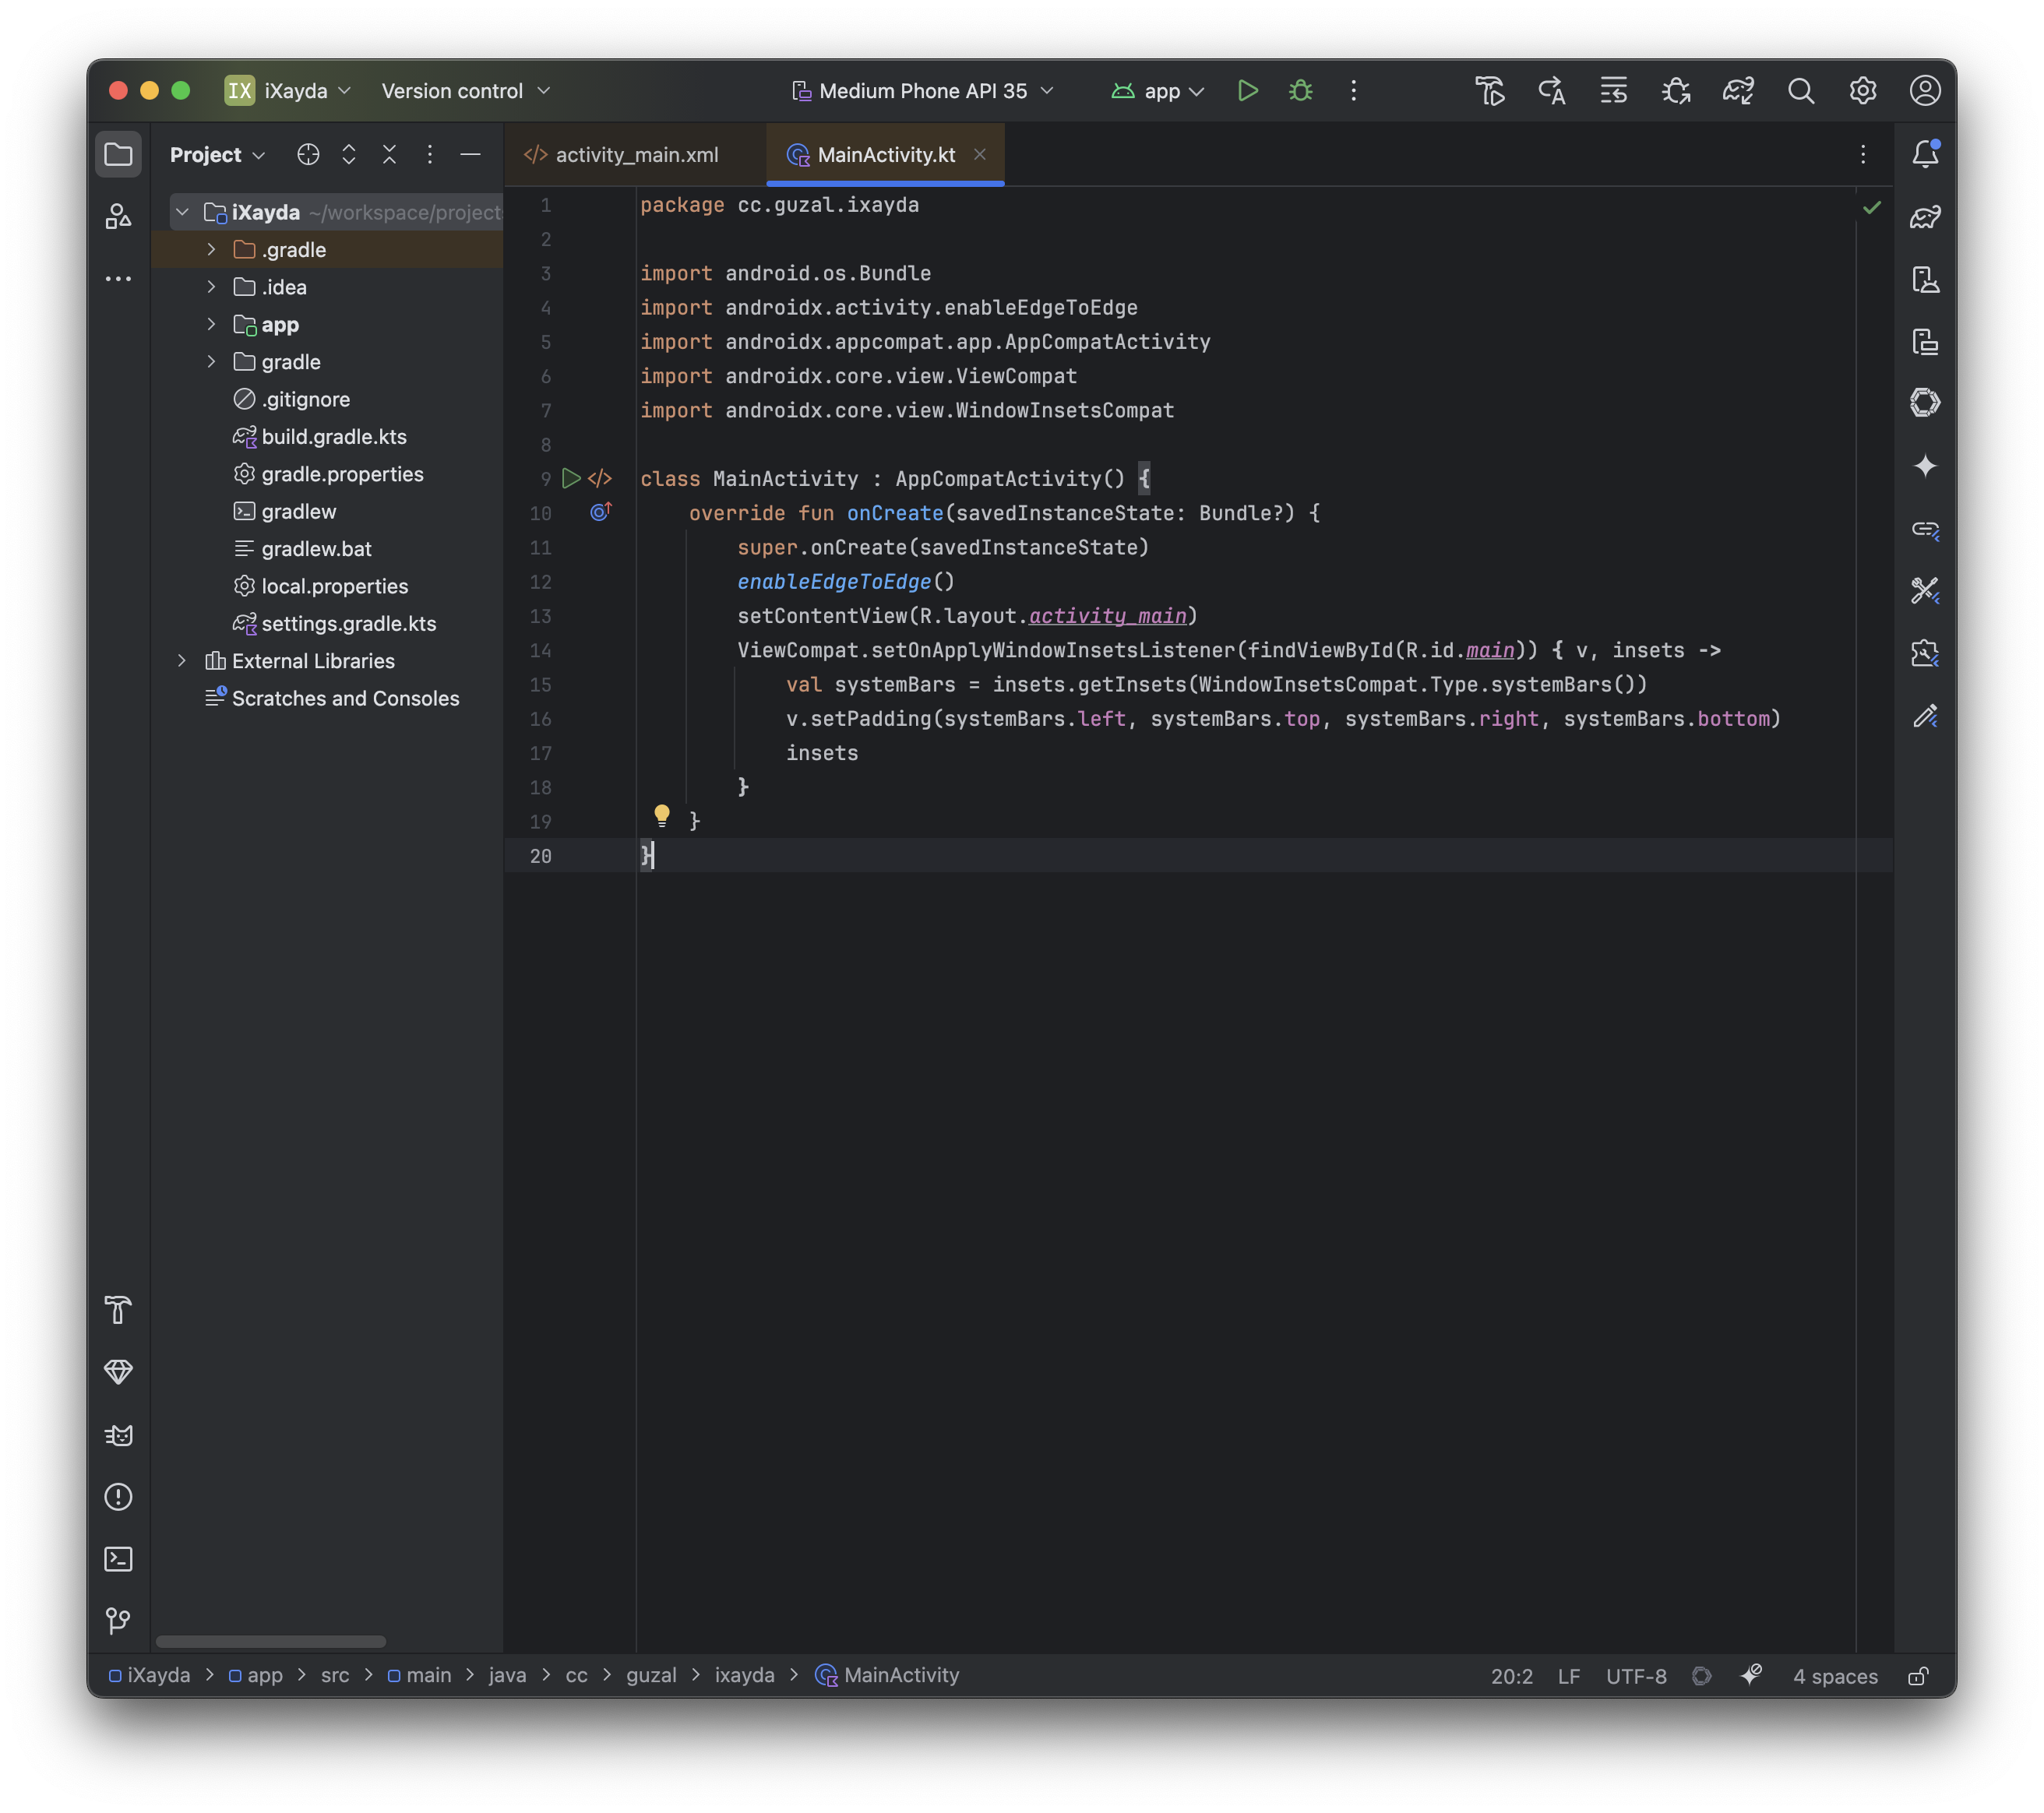
项目加载完成,就可以看到如下界面了
代码编辑
activity_main.xml
首先打开布局文件app/src/main/res/layout/activity_main.xml,该文件原始内容如下;
1
2
3
4
5
6
7
8
9
10
11
12
13
14
15
16
17
18
19
| ?xml version="1.0" encoding="utf-8"?>
<androidx.constraintlayout.widget.ConstraintLayout xmlns:android="http://schemas.android.com/apk/res/android"
xmlns:app="http://schemas.android.com/apk/res-auto"
xmlns:tools="http://schemas.android.com/tools"
android:id="@+id/main"
android:layout_width="match_parent"
android:layout_height="match_parent"
tools:context=".MainActivity">
<TextView
android:layout_width="wrap_content"
android:layout_height="wrap_content"
android:text="Hello World!"
app:layout_constraintBottom_toBottomOf="parent"
app:layout_constraintEnd_toEndOf="parent"
app:layout_constraintStart_toStartOf="parent"
app:layout_constraintTop_toTopOf="parent" />
</androidx.constraintlayout.widget.ConstraintLayout>
|
然后根据以下参考修改内容;
1.修改androidx.constraintlayout.widget.ConstraintLayout为FrameLayout;
2.删除其中的子元素内容,我这里是替换TextView元素为WebView,
1
2
3
4
5
6
7
8
9
10
11
12
13
14
| <?xml version="1.0" encoding="utf-8"?>
<FrameLayout xmlns:android="http://schemas.android.com/apk/res/android"
xmlns:app="http://schemas.android.com/apk/res-auto"
xmlns:tools="http://schemas.android.com/tools"
android:id="@+id/main"
android:layout_width="match_parent"
android:layout_height="match_parent"
tools:context=".MainActivity">
<WebView
android:id="@+id/web"
android:layout_width="match_parent"
android:layout_height="match_parent" />
</FrameLayout>
|
MainActivity.kt
然后打开 Kotlin 代码文件``app/src/main/java/cc/guzal/ixayda/MainActivity.kt`,修改该文件为如下内容;
1
2
3
4
5
6
7
8
9
10
11
12
13
14
15
16
17
18
19
20
21
22
23
24
25
26
27
28
29
30
31
32
33
34
35
36
37
38
39
40
41
42
43
44
45
46
| package cc.guzal.ixayda
import android.os.Bundle
import android.webkit.WebResourceRequest
import android.webkit.WebView
import android.webkit.WebViewClient
import androidx.activity.enableEdgeToEdge
import androidx.appcompat.app.AppCompatActivity
import androidx.core.view.ViewCompat
import androidx.core.view.WindowInsetsCompat
class MainActivity : AppCompatActivity() {
override fun onCreate(savedInstanceState: Bundle?) {
super.onCreate(savedInstanceState)
enableEdgeToEdge()
setContentView(R.layout.activity_main)
ViewCompat.setOnApplyWindowInsetsListener(findViewById(R.id.main)) { v, insets ->
val systemBars = insets.getInsets(WindowInsetsCompat.Type.systemBars())
v.setPadding(systemBars.left, systemBars.top, systemBars.right, systemBars.bottom)
insets
}
val webView: WebView = findViewById(R.id.web)
webView.apply {
settings.apply {
javaScriptEnabled = true
allowContentAccess = true
allowContentAccess = true
domStorageEnabled = true
}
webViewClient = object : WebViewClient() {
override fun shouldOverrideUrlLoading(
view: WebView?,
request: WebResourceRequest?
): Boolean {
return super.shouldOverrideUrlLoading(view, request)
}
}
loadUrl("https://www.ixayda.com")
}
}
}
|
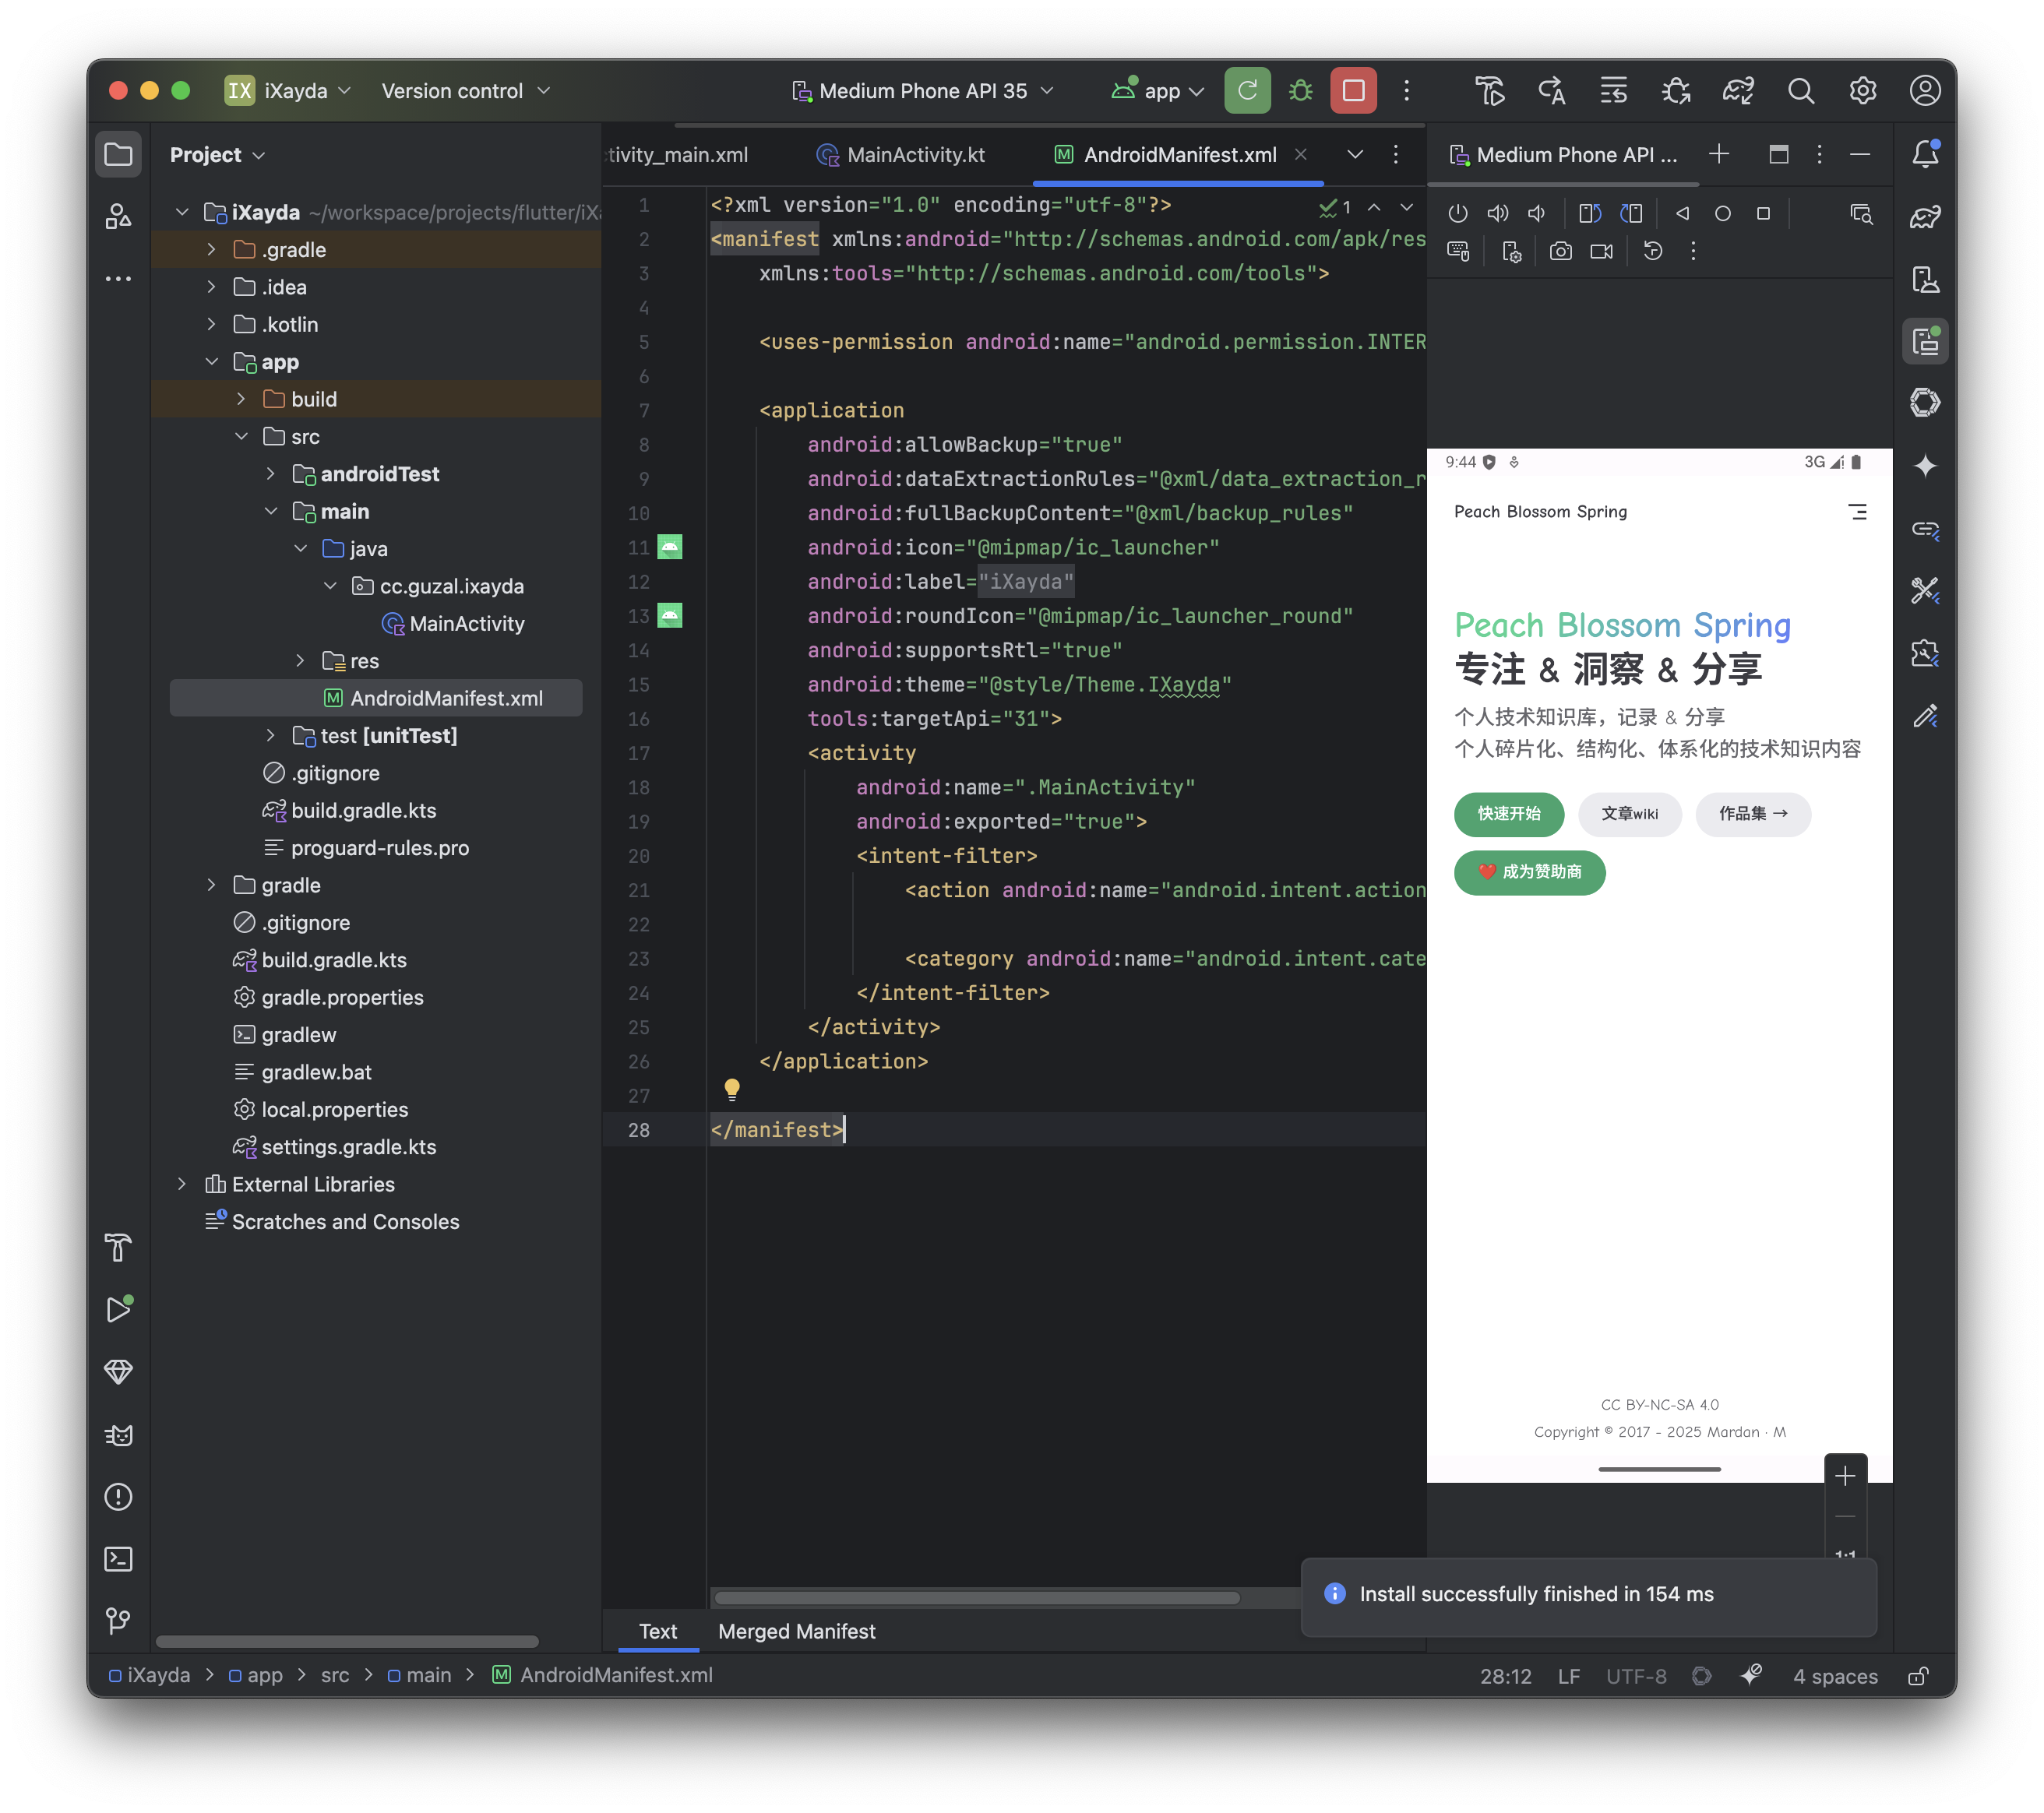
申请网络权限
打开清单文件app/src/main/AndroidManifest.xml,可以看待原先的内容如下
1
2
3
4
5
6
7
8
9
10
11
12
13
14
15
16
17
18
19
20
21
22
23
24
25
26
| <?xml version="1.0" encoding="utf-8"?>
<manifest xmlns:android="http://schemas.android.com/apk/res/android"
xmlns:tools="http://schemas.android.com/tools">
<application
android:allowBackup="true"
android:dataExtractionRules="@xml/data_extraction_rules"
android:fullBackupContent="@xml/backup_rules"
android:icon="@mipmap/ic_launcher"
android:label="@string/app_name"
android:roundIcon="@mipmap/ic_launcher_round"
android:supportsRtl="true"
android:theme="@style/Theme.IXayda"
tools:targetApi="31">
<activity
android:name=".MainActivity"
android:exported="true">
<intent-filter>
<action android:name="android.intent.action.MAIN" />
<category android:name="android.intent.category.LAUNCHER" />
</intent-filter>
</activity>
</application>
</manifest>
|
接下来,我们添加网络权限的申请配置<uses-permission android:name="android.permission.INTERNET"/>.将该配置添加完成后,文件如下;
1
2
3
4
5
6
7
8
9
10
11
12
13
14
15
16
17
18
19
20
21
22
23
24
25
26
27
28
| <?xml version="1.0" encoding="utf-8"?>
<manifest xmlns:android="http://schemas.android.com/apk/res/android"
xmlns:tools="http://schemas.android.com/tools">
<uses-permission android:name="android.permission.INTERNET"/>
<application
android:allowBackup="true"
android:dataExtractionRules="@xml/data_extraction_rules"
android:fullBackupContent="@xml/backup_rules"
android:icon="@mipmap/ic_launcher"
android:label="@string/app_name"
android:roundIcon="@mipmap/ic_launcher_round"
android:supportsRtl="true"
android:theme="@style/Theme.IXayda"
tools:targetApi="31">
<activity
android:name=".MainActivity"
android:exported="true">
<intent-filter>
<action android:name="android.intent.action.MAIN" />
<category android:name="android.intent.category.LAUNCHER" />
</intent-filter>
</activity>
</application>
</manifest>
|
运行 App
现在点击运行,就可以看到 App 正确打开了配置的网站https://www.ixayda.com
打包 App
点击菜单Build>Generate Signed App Bundle or APK...,参考下图
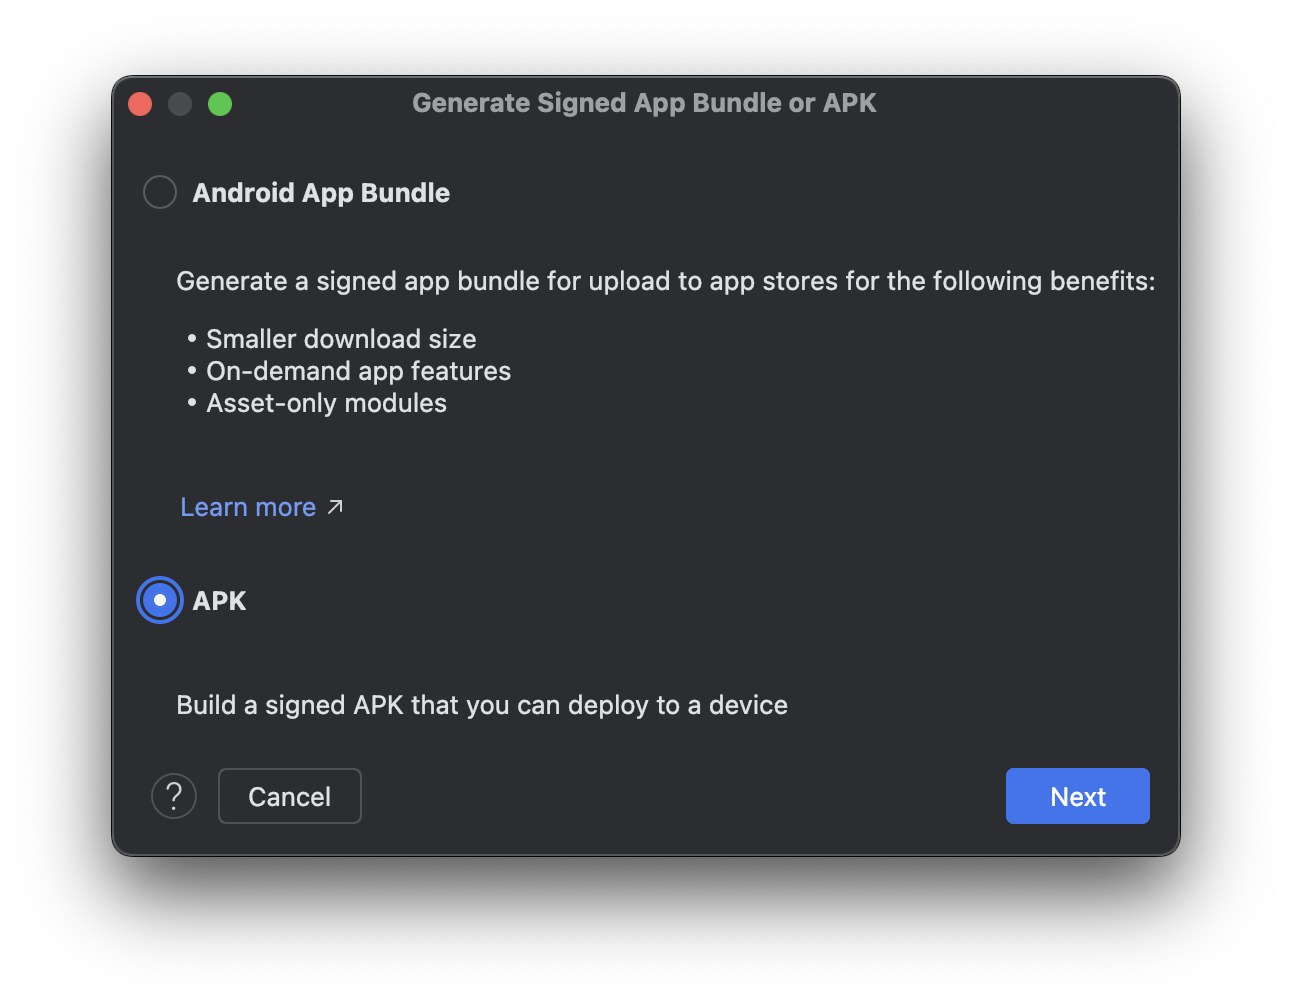
然后签名,选择 Release,最后生成 App 就可以了
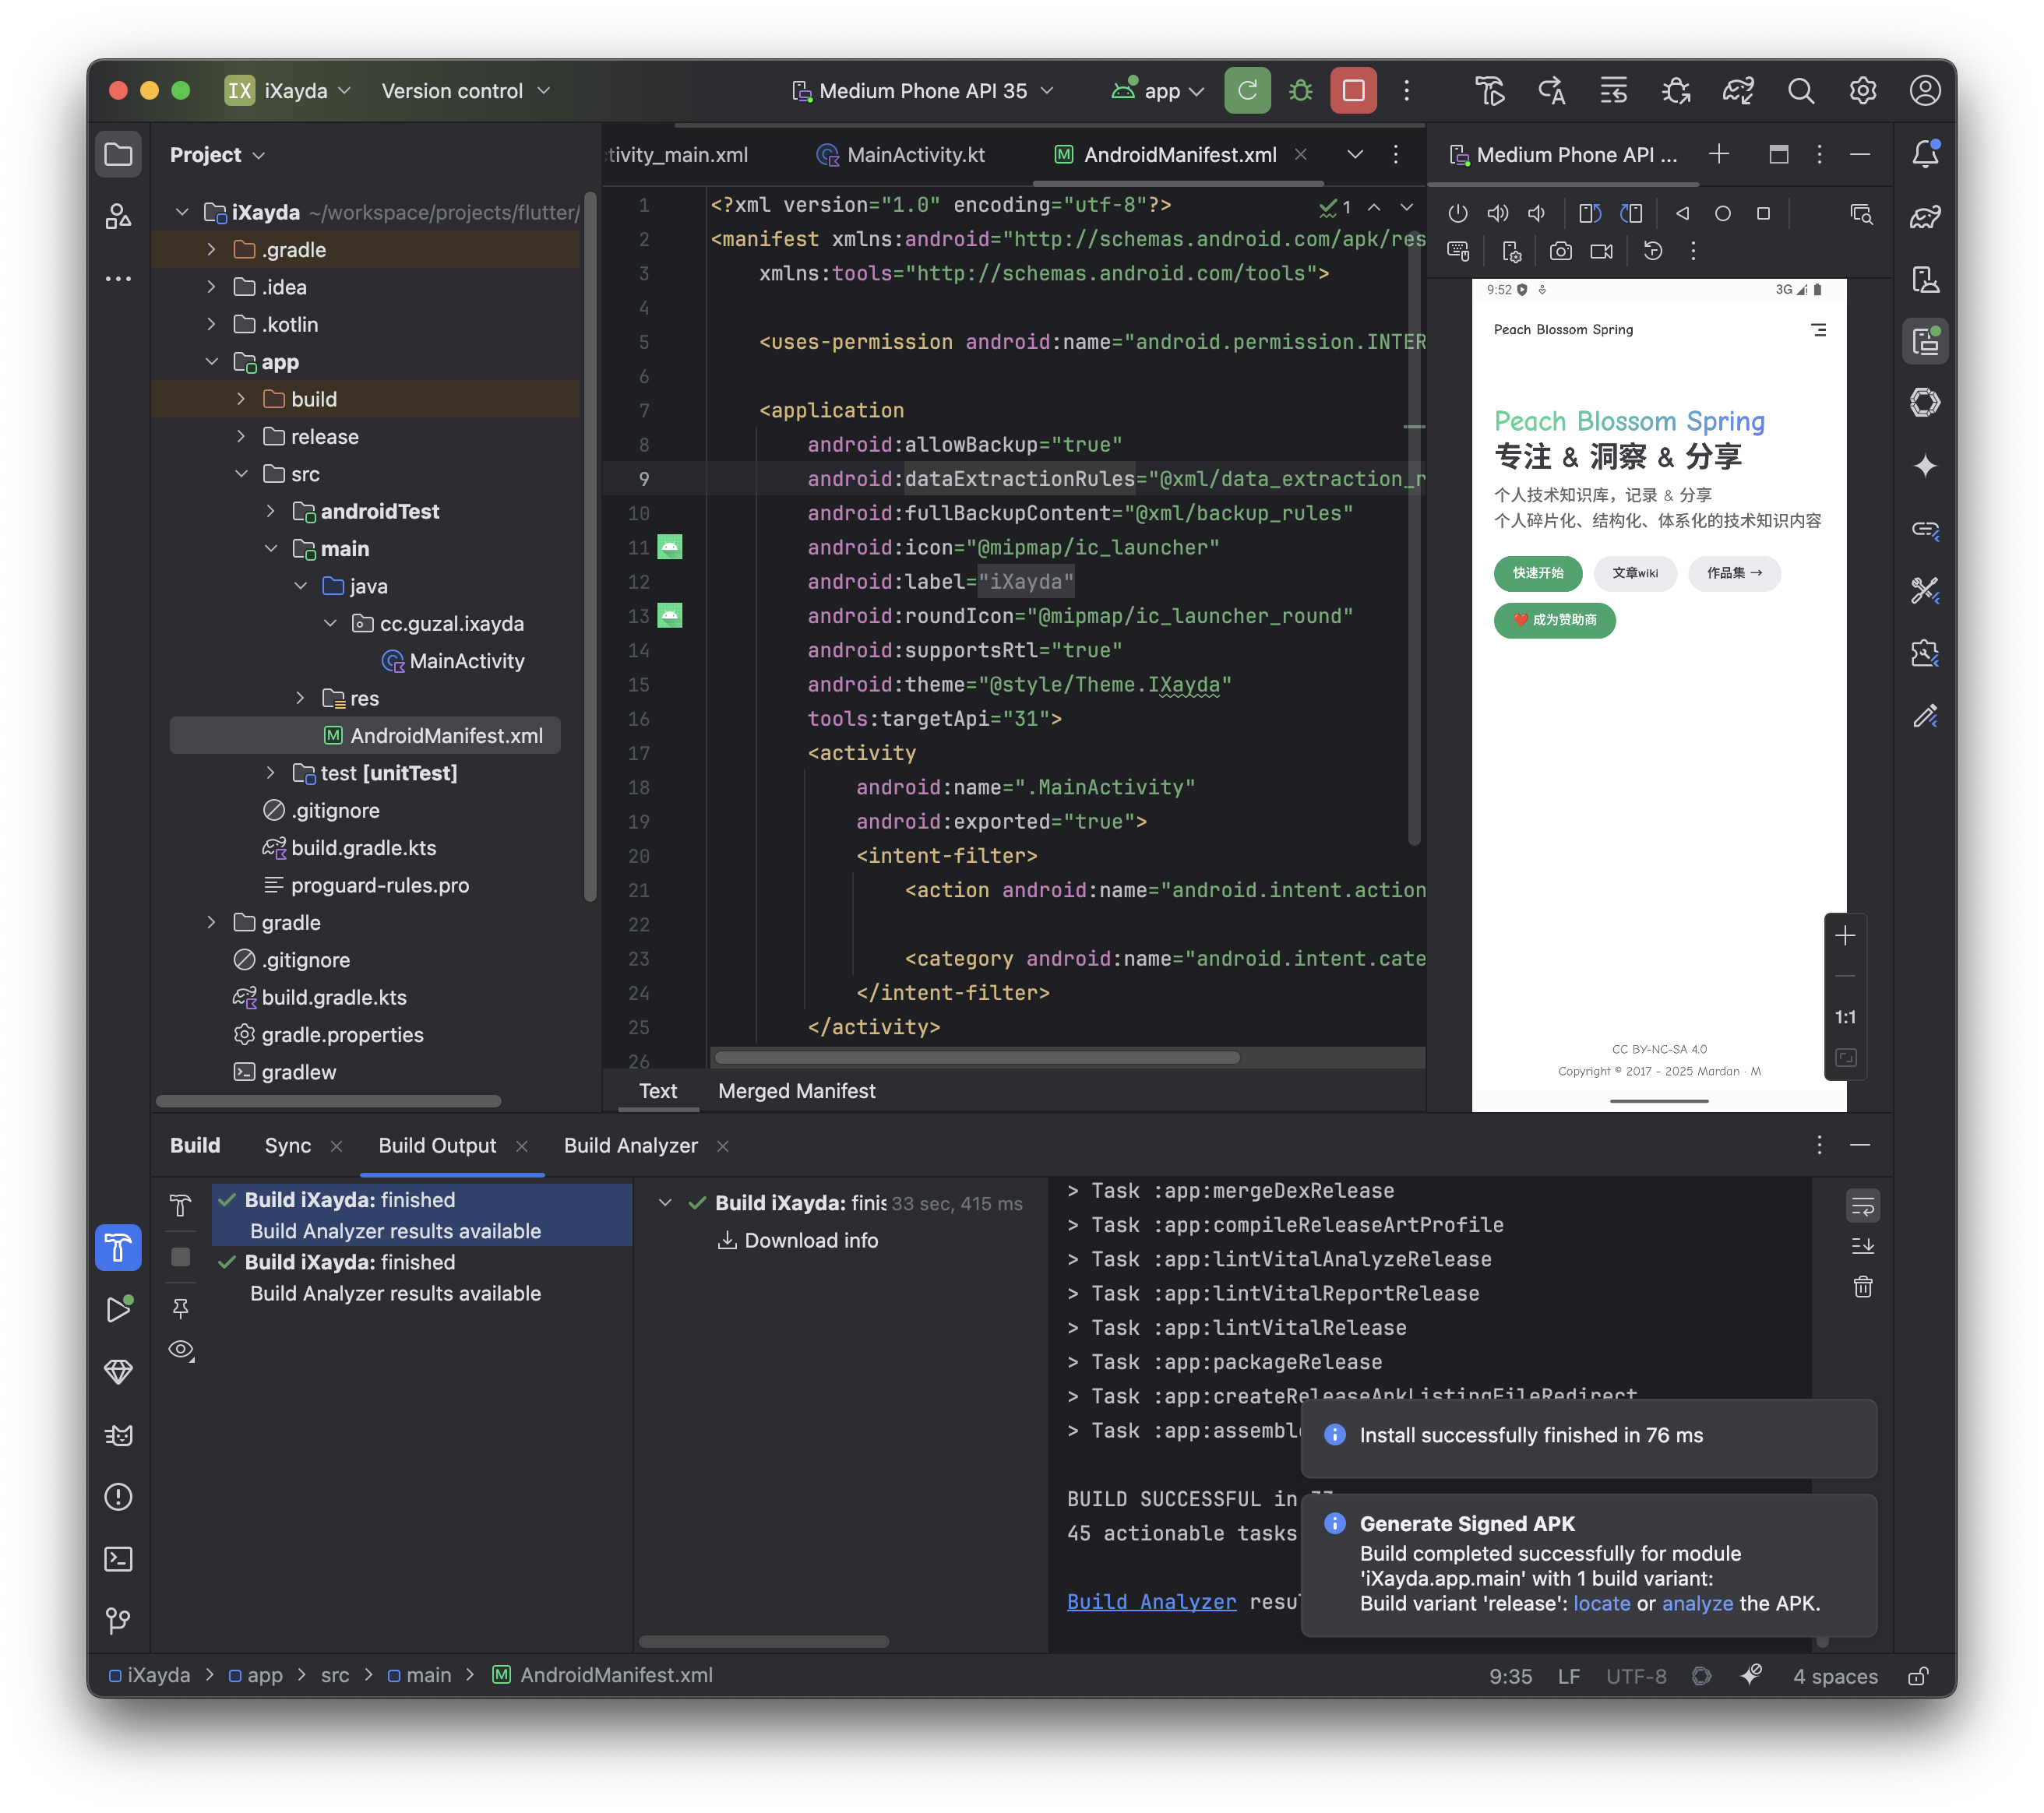
生成的 App 就在app/release/app-release.apk里了,然后安装到手机上验证一下。
代码传送门:
Git 下载站Android App: iXayda
Hi there, I’m Mardan(ka1i).